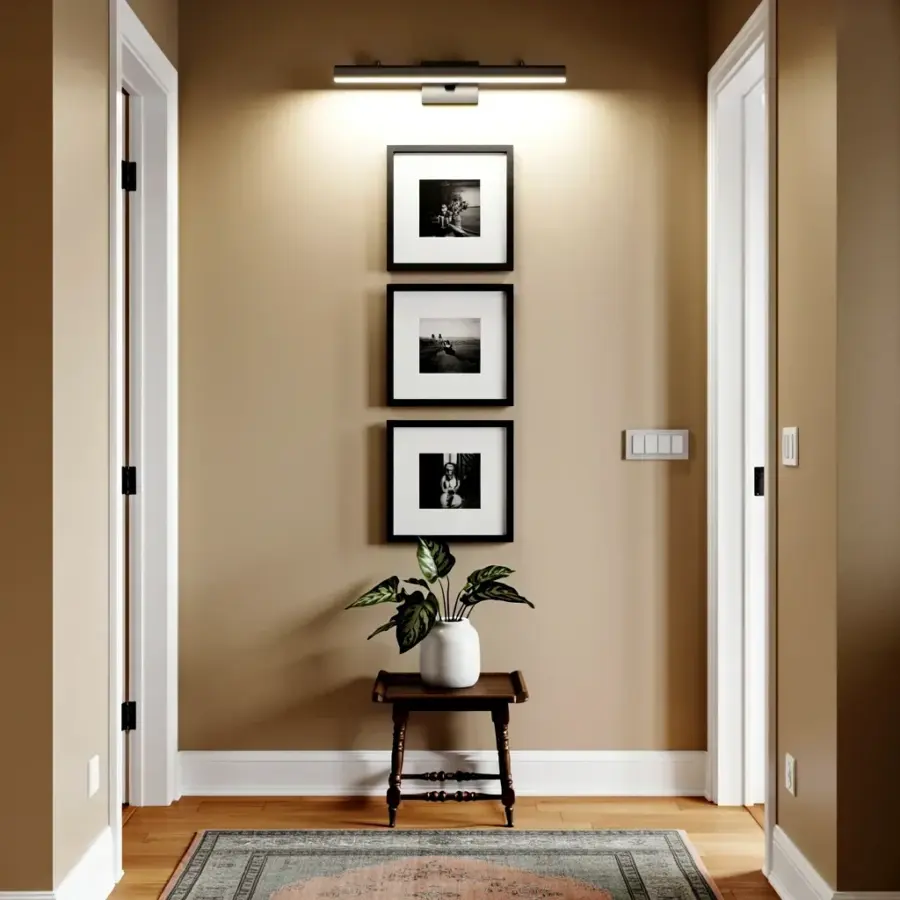
Honestly, running out of shelf space for houseplants is the best problem to have. My small entryway is basically a landing strip with a coat hook, and for the longest time I thought I’d never get more greenery in there. Then I found ceramic wallscape planters from West Elm, and I’ve been gloating about it to every plant parent I know. They clip on like a frame and take up zero floor space, so your tiny hallway suddenly looks like a spring garden. No drill-heavy hanging brackets, no shelf to install, just a small mount and a satisfying click.
But before you start, let me warn you: not every wall works. This guide is the result of a few very stubborn evenings with a measuring tape, one fall, and a lot of trial and error. So let’s get you doing it right the first time.
Where to Hang Ceramic Wall Planters in a Narrow Entryway
The best spot is the one you see the second you walk in, not the one hiding behind the open door. For me, that’s the wall across from my mirror. If you have to dodge an umbrella or a backpack every time you pass, pick a different spot. You want the planter at eye level, which for me is around five and a half feet from the floor. A little higher works too, but not so high that you can’t water it without a stepladder.
Look for a section of wall that isn’t directly next to the door frame hinge. Trust me, slam a door once and you’ll see a crack in a brand new planter. Also, check for hollow spots. Tap the wall with your knuckle; if it sounds like a drum, move a few inches over. My apartment has old plaster walls, which is a whole other story. I hung a heavy macrame hanger on a hollow spot once and it came crashing down at 2am. Not kidding, it startled my cat so bad he yowled for an hour.
Tools and Supplies for Mounting Houseplants on the Wall
You don’t need a massive tool kit. I’m a renter, so I’ve gotten good at working with minimal damage and maximum speed. Here’s what I used:
- A pencil and a measuring tape (the flexible kind that always tucks itself into a weird shape)
- A drill with a masonry bit if you have plaster or tile, and a standard bit for drywall
- Wall anchors that match the weight of your planter, don’t skip these
- A small level, one of those torpedo levels is perfect
- A screwdriver or a drill with a screwdriver bit
That’s it. The West Elm wallscape planters come with their own mount, so you don’t need to hunt for hardware. But you will need anchors. The weight of the ceramic planter plus soil plus a wet plant adds up fast, especially after a good soak.
Step by Step: Installing the Wallscape Planter Mount
First, measure and mark your spot. Hold the mount against the wall where you want it, then use your level to make sure the top edge is perfectly horizontal. Mark the screw holes with your pencil. Make two tiny dots that are exactly the distance the mount requires.
Now, drill your pilot holes. For plaster, you’ll want a masonry bit and you’ll need to go slowly. If the bit starts to wobble, you’re hitting a lath, so back off and try an inch to the side. Insert the wall anchors. Tap them in gently with a hammer, not a full swing, just enough to seat them flush.
Screw the mount onto the wall. Don’t overtighten. You’ll feel when the mount is snug against the plaster. If the mount is a little crooked, loosen one screw, tilt it, and retighten. I spent way too long fiddling with my first one, then realized the mount has a slight notch that actually helps it self-level. Use that to your advantage.
How to Clip on the West Elm Planter and Balance It
Okay so this is the fun part. The planter has a recessed back edge that slides over the mount’s lip. You don’t have to twist or angle it, almost like you’re hanging
#ceramicwallscapeplanters #smallentryway #houseplants #westelm #springdecor
Leave a Comment