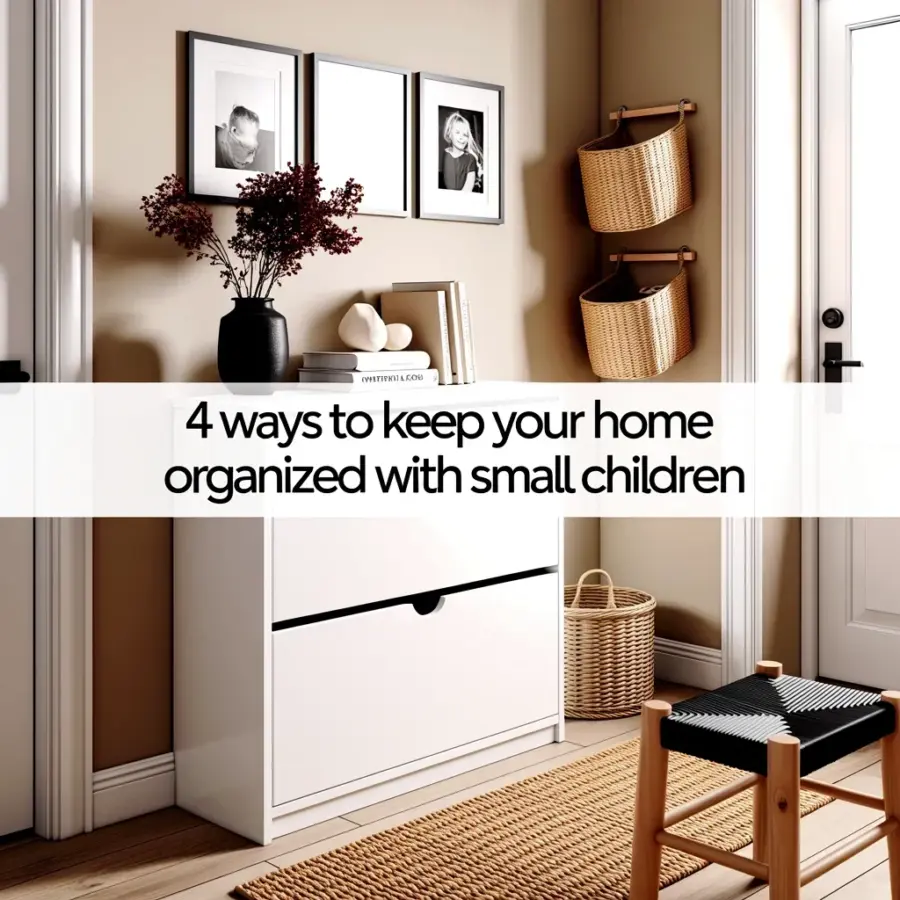
Ok so I have a confession: I am completely obsessed with Ikea Billy Bookcase Hacks. Seriously, I scroll Pinterest late at night looking at entryway transformations and I can’t get enough. The Billy is basically a blank canvas that costs less than a dinner out, and with a little effort you get a custom mudroom bench, hidden storage, or a cozy landing spot that makes everyone walk in and say “oh this is nice.” I mean the projects here are 27 cozy DIY ideas that add warmth without breaking the bank. So which one are you trying first? Because honestly I want to try them all. Let me show you how to actually pull these off step by step.
How to Build a Mudroom Bench from a Billy Bookcase
This is my favorite hack. You take a standard Billy (the deeper one, because you want to sit on it) and basically give it a haircut. First measure your wall height and decide how tall the bench should be. Around 18 inches is standard. Remove the top shelves and cut the side panels down to that height. Use a circular saw with a fine tooth blade and go slow; the particle board can chip. Sand the edges smooth with 120 grit paper.
Now here’s the tricky part. You need to reinforce the bottom because sitting on a Billy bookcase without extra support is a disaster waiting to happen. I learned this the hard way with a cracked shelf and a sad afternoon. Add a 2×2 frame inside the bookcase at the bottom, screwed into the side panels and the back. Then cut a piece of 3/4 inch plywood for the new top and attach it with wood glue and screws from underneath. That plywood top is where the magic happens. Paint it or stain it to match, then add a cushion. Boom. You have a mudroom bench that cost maybe 80 dollars total.
And please, for the love of all things cozy, secure it to the wall. Use the brackets that come with the Billy but also add a French cleat or L-brackets into studs. A wobbly bench is not the warm welcome you want.
Adding Hidden Storage Behind a Billy Bookcase
You know those awkward entryways where you have a tiny hallway and no closet? Billy to the rescue. But instead of just books and shoes, create a secret stash behind it. This only works if your Billy is against a wall that has a little depth behind it, like a recessed area or a shallow alcove. Measure the space behind the bookcase and build a simple wooden box with a hinged lid that sits behind the bottom shelf.
I used two Billys side by side in my own house to hide winter gloves, scarves, and a spare umbrella. The trick is that the bookcase sits slightly forward on a 2×4 frame. You can’t tell from the front. The bottom shelf is removable (or cut to fit) so you can lift it and access the storage underneath. Alternatively, buy shallow plastic bins that fit behind the books on the lower shelves. This is less complicated but still feels like a secret. One tip: don’t hide anything you need daily. That gets annoying fast. Store off-season stuff or emergency candles, you know, things you forget about until you really need them.
Painting and Staining Your Billy for a Custom Look
Look, the standard Billy finish is fine for a dorm room. But for an entryway that says “welcome to my cozy home”? You need color. I am a total sucker for a deep navy blue or a warm forest green. But here’s the thing: Billy bookcases have a laminated surface. You can’t just slap paint on it and hope. It will peel like a bad sunburn.
First lightly sand the entire unit with 220 grit sandpaper. Wipe off the dust with a tack cloth. Then apply a high adhesive primer. I use Zinsser Bullseye 1-2-3 because it sticks to anything. Wait four hours. Sand again lightly. Then two coats of your chosen paint with a foam roller for a smooth finish. For a stained wood look, you have to remove the laminate entirely (which is awful work) or buy the solid wood Billy doors and stain those. Honestly I just paint. It’s faster and you can get any color. Last week I painted one a dusty terracotta and now my hallway looks like a tiny artist loft. I love it.
One more rant: don’t use a brush for the large flat panels. Roller only. You will see brush strokes and it’ll look cheap. Nobody wants that.
How to Style the Top of Your Entryway Billy Unit
The top of the Billy is prime real estate. But most people just leave it empty or put a dusty plant up there. Here is a practical guide that actually works. First, decide if you want symmetry or chaos. Symmetry is safer, chaos has more personality. I go chaos.
Start with a vertical element, like a tall vase or a framed mirror leaning against the wall. Then add one odd item, maybe a stack of old hardcover books tied with twine or a small sculpture you thrifted. Then a basket for keys and mail. And finally a plant, but not a fake one if you can help it. A pothos trailing down the side of the Billy is my personal signature. It softens the sharp lines. The whole point is to create a vignette that says “this is a person who lives here, not a showroom.” If you have a cat, expect the plant to be knocked over. Mine does it every Tuesday. I just pick it up and rearrange.
Creating a Drop Zone with Billy Bookcases and Baskets
Entryways get wrecked by daily junk. Coats, bags, mail, dog leashes, the random pen you found on the sidewalk. A Billy bookcase can be the drop zone that actually contains the mess. Use the shelves with baskets, labeled if you’re fancy or just dumped-in if you’re real. But here is my main tip: limit the number of baskets to the number of family members plus one. More than that and it becomes a black hole.
I use the lower two shelves for shoes. No, not a shoe rack, just a low bookcase shelf where you can kick off your sneakers. The middle shelf has a shallow tray for keys and a little bowl for change. The top shelf is for mail sorting. Use a wall mounted folder or a simple vertical file holder. This system takes five minutes to set up and saves you from the entryway avalanche. One thing I learned: avoid tiny baskets. They fill up too fast and then stuff piles on top. Go for baskets that are at least 12 inches deep. That is the sweet spot.
How to Turn a Billy into a Hall Tree with Coat Hooks
You can absolutely mount a rod or attach hooks directly to the Billy. But do it right or your coats will rip the bookcase apart. I did this in my old apartment and it held up for two years before I moved. Here is the method.
Buy a wooden rod or a metal pipe that fits across the width of the Billy. Cut it to size and screw it into the side panels using heavy duty flanges. But you need to add a thick piece of plywood behind the flanges if the sides are just particle board. I used a 1×4 board painted the same color as the Billy, screwed through to the side panel with construction screws. Then attach the flange to the 1×4. It sounds like extra work but it keeps the screws from stripping out. For hooks, simply screw them into the top of the bookcase facing outward, or into the side of the unit near the top. Place them 6 inches apart. I put three hooks for jackets, one for a bag, and one for a dog leash. That’s enough.
One more thought: do not overload the rod with heavy winter coats. Billy is not a load bearing structure. Keep it to light jackets and you are golden.
So there it is. Twenty seven ideas (well, a few here that you can mix and match) for making your entryway feel like a warm hug without spending a fortune. The Billy bookcase is honestly a hero piece. It does not judge. It just stands there and lets you hack it however you want. Go grab a Billy, some paint, a saw, and maybe a cushion. You have a cozy entryway waiting to happen. Which hack are you trying this weekend? I really want to know. Drop a comment or send me a photo of your project. Seriously, it makes my day.
#ikeabillyhack #entryway #diy #cozyhome #billybookcase
Leave a Comment